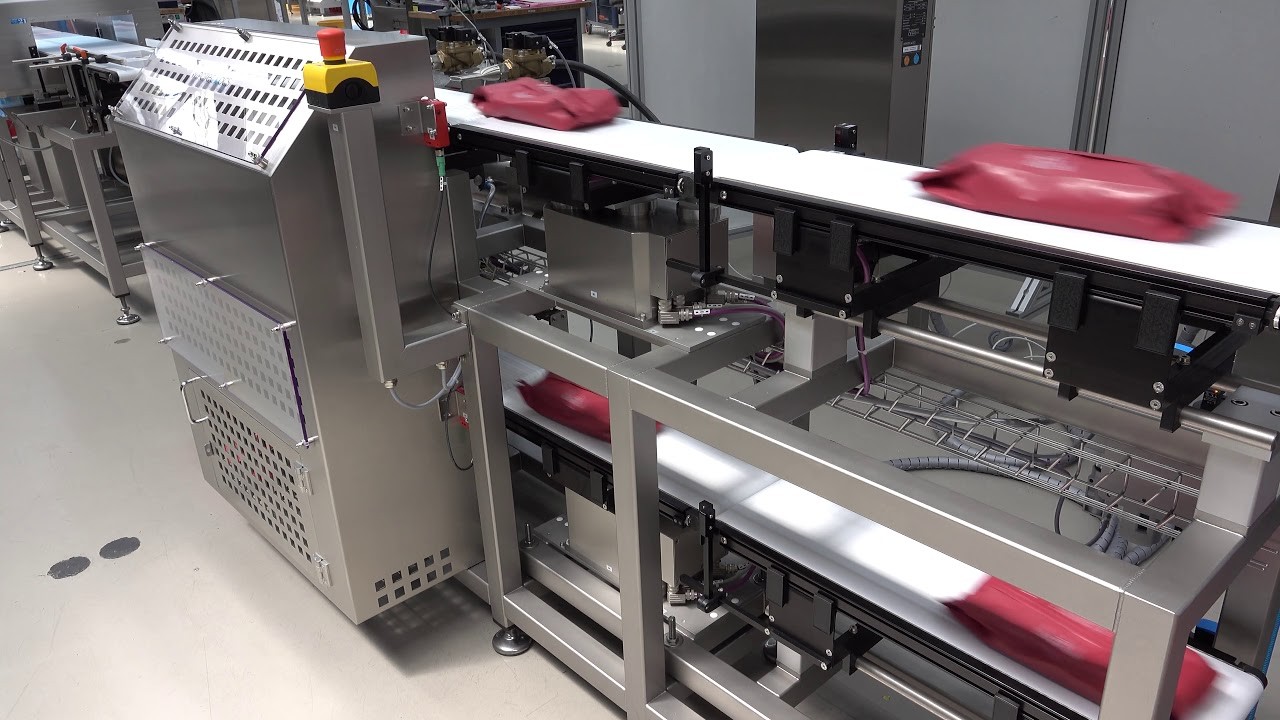
Precautions for the Calibration Setting of the Checkweigher
time2021/05/22

- The checkweigher is a kind of precision weighing equipment dedicated to the production line, which can check the pre-managed product weight. The precautions for the calibration setting of the checkweigher will be introduced here.

After the checkweigher is first installed or replaced with some weighing components such as load cells, conveyor belts, and check weighing controllers, it needs to be recalibrated before it can be used. The following are the precautions for the calibration setting of the checkweigher.
1. Before calibrating the checkweigher scale instrument, the controller must follow the instruction manual carefully to check whether the connecting wires are correct and whether the cables are damaged and have poor contact. To
2. Before the checkweigher system is calibrated, power on for at least 15 minutes to achieve thermal stability of the weighing mechanism components such as the load cell and the check weighing
controller.
3. Complete the setting of conventional calibration parameters, generally including unit, decimal point, minimum division, maximum range, and sensor sensitivity.
For example, for a 30KG range sensor, if the accuracy is to reach 0.002KG, the unit should be KG, the decimal point should be 3 digits, the division value should be 2, and the maximum range should be 30. The sensitivity is generally 1/2/3 (unit mV/V) according to the sensor’s factory parameters.
Division value * the number of decimal places = display accuracy (when setting the display accuracy, pay attention that the parameters conform to the accuracy level of the load cell, otherwise it is easy to cause jumping, instability, etc.)
4. The calibration of the checkweigher instrument is generally divided into two methods, one is physical calibration, and the other is digital calibration. You can consult the manufacturer for details.
Most weighing systems need to be calibrated by physical objects, and digital calibration is only used in some scenes where physical objects cannot be used. Digital calibration cannot eliminate mechanical errors, and its accuracy is affected by many factors such as sensor sensitivity and instrument power supply parameters.
5. Set the target value, overvalue and undervalue of the checkweigher controller to complete the calibration set.
Overweight value: During the check weighing process, if the average value of this check weighing is greater than or equal to the target value plus the overweight value, it is judged to be out of tolerance.
Underweight value: During the check weighing process, if the average value of this check weighing is less than or equal to the target value minus the underweight value, it is judged as underweight.
If the automatic checkweigher is not calibrated, it may result in low product weight accuracy and fail to achieve the goal of weeding out unqualified
products. If after reading the above, you feel that the above content is not very effective for you, you can contact us for detailed information and solutions.
As a professional manufacturer of checkweighing and inspection systems, we have many years of experience in production and manufacturing in this field. We have a professional manufacturing team and strict quality management system to provide customers with safe and high-quality products. And our professional services can provide effective solutions according to customer needs. If you are interested in our checkweigher, please contact us immediately!
